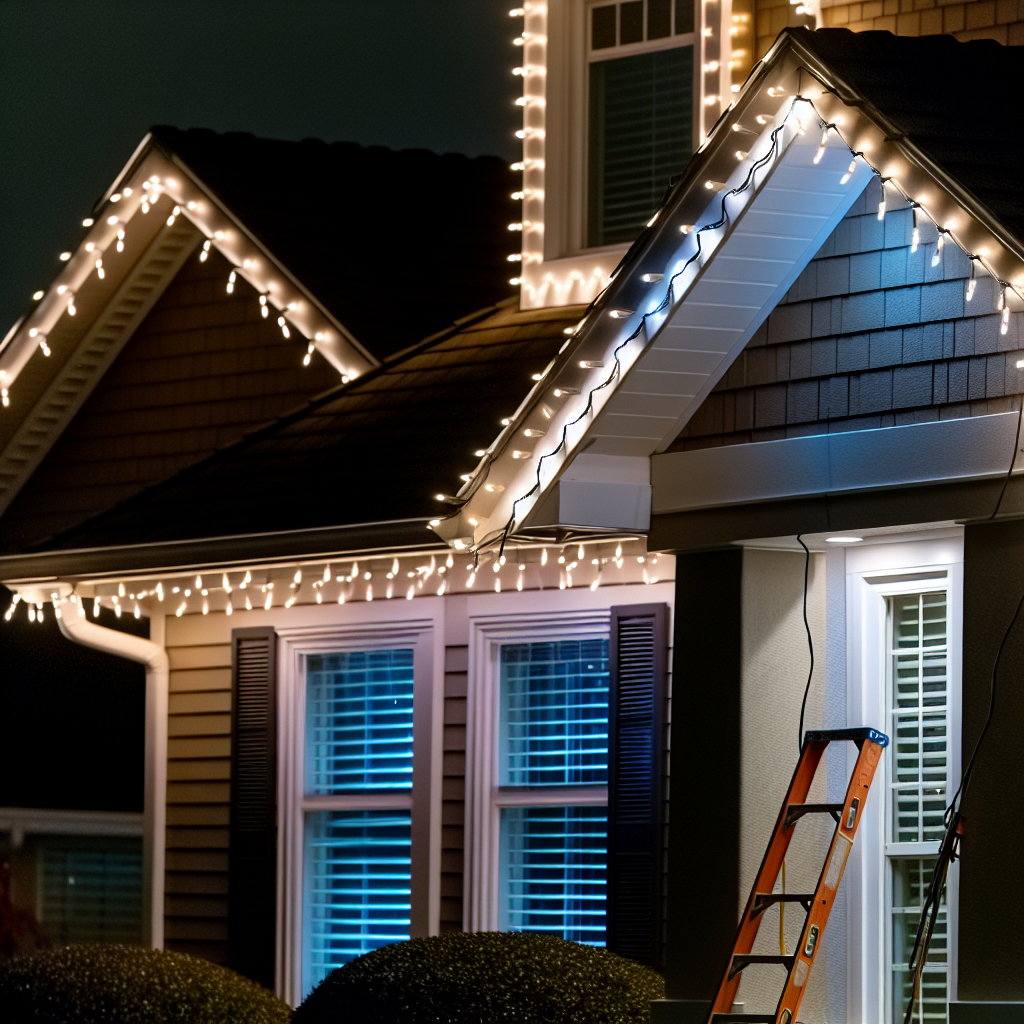
• Learn to safely hang Christmas lights with easy, step-by-step instructions
• Avoid common mistakes with practical tips for a flawless holiday display
• Ensure a sparkling and secure rooftop decoration with expert advice and guidance
Recognizing the Need for a Festive Upgrade
Before delving into the nuances of adorning your abode with festive lights, it’s essential to heed the cautionary signs that suggest a need for an update. Perhaps you’ve noticed your neighbor’s displays are consistently more vibrant and longer-lasting, which could be a result of using premium, outdoor-rated lights. If your previous years’ attempts have led to dimming bulbs or a disheveled appearance, it’s time to reconsider your choice of lighting and strategy. Additionally, any difficulty you’ve faced when installing or removing lights could indicate the need for a safer, more efficient technique.
Selecting the Appropriate Lighting Features
Choosing the right Christmas lights is more than just picking the shiniest option; it involves a careful assessment of durability and compatibility with the environment. If you’ve had to replace bulbs frequently or found your display lacking the luster it once had, consider switching to LED lights that promise longevity and energy efficiency. The eaves and ridges of your home are vital focal points, so opting for lights designed to highlight these features can dramatically enhance aesthetic appeal. Remember, weather-resistant lights suited for your local climate can prevent the common pitfall of a holiday display dimmed prematurely by winter conditions.
Gearing Up for a Safe Installation
Over the years, if frustration has followed the tangled mess of wires and unreliable hooks, it’s a clear signal to revamp your approach to hanging lights. A robust plan involving the appropriate tools and safety gear can turn a cumbersome task into a joyous holiday activity. Have you struggled with reaching the higher sections of the roof or ensuring the lights are secure? This year, equip yourself with a sturdy ladder, the right hooks, and safety equipment to make the decorating process as smooth and safe as possible, preventing the previous years’ mishaps from repeating.
Measuring for a Precise Light Display
Taking precise measurements is a critical step that often goes overlooked in the excitement of holiday decorating. Incorrect estimations can lead to a shortage of lights, leaving parts of your roofline unexpectedly dark or forcing you to return to the store amid your decorating frenzy. To avert such an unwelcome scenario, use a measuring tape to calculate the exact length of your roof where the lights will dazzle the neighborhood. Accurate measurements ensure not only a complete look but also that every bulb fits snugly, contributing to a continuous, visually appealing strand that accentuates the contours of your home.
Preparing for a Seamless Light Installation
Preparation is key for a hassle-free installation, so testing your light strands beforehand can save you from the woes of burnt-out bulbs midway through the season. Unravel and lay out your lights on the ground to envision your design and make any adaptations prior to climbing the roof. By replacing any broken bulbs now, you prevent the dreaded discovery of gaps in your display after all the effort of hanging them. As you’re outlining your plan, remember to visit Ecobuild Roofing for any roofing services you might need to safeguard your home from potential damage before installing lights.
Step 1: Choose the Right Christmas Lights
Select lights rated for outdoor use, with the length and bulb type that best suits your roof’s style and shape. Consider energy-efficient LED lights that can withstand winter conditions.
Step 2: Gather Your Tools and Safety Gear
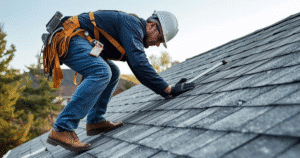
Prepare a sturdy ladder, extension cords, light clips or hooks specific for roof use, a measuring tape, gloves, and safety glasses. Prioritize your safety while working at heights.
Step 3: Measure Your Roof
Use the measuring tape to determine the length of the roofline where you’ll hang the lights, including eaves and ridges. This ensures you have enough lights to cover the desired area.
Step 4: Prepare the Lights
Test all light strands for functionality before hanging. Untangle wires and replace any broken bulbs. Lay out your lights on the ground in the pattern you plan to hang them.
Step 5: Install Light Clips or Hooks
Position your ladder securely and start attaching the light clips or hooks along the edge of the roofline, following the manufacturer’s instructions for spacing. Never staple or nail light strands directly to your roof.
Step 6: Hang the Christmas Lights
Carefully hang your lights by clipping them into the installed light clips or hooks. Start from one end and work your way across the roofline, ensuring the lights are secure and evenly spaced.
Step 7: Connect the Lights to Power
After hanging the lights, use outdoor-rated extension cords to connect them to your power source. Ensure that all connections are off the ground and protected from moisture.
Step 8: Final Inspection and Adjustments
Turn the lights on to check that they’re all working and evenly distributed. Make any necessary adjustments to straighten lines or fix spacing. Stand back and enjoy the festive display you’ve created on your roof.
Steering Clear of Common Lighting Mishaps
As exciting as it is to dive into holiday decorating, it’s vital to be aware of common mistakes to sidestep any seasonal snafus. Every year, many eager decorators rush the process or overlook crucial details, which can lead to less-than-stellar displays or, worse, safety hazards. By recognizing these pitfalls before you begin, you can ensure a smooth and successful installation that shines as bright as the holiday spirit.
– Mistake 1: Overloading Electrical Circuits
It’s tempting to plug all your lights into one outlet, but this can trip breakers or even cause electrical fires. Always check the power ratings and spread the load across multiple circuits.
– Mistake 2: Using Indoor Lights Outdoors
Indoor lights are not built to withstand the elements like outdoor-rated ones are. Make sure you choose lights specifically labeled for outdoor use to prevent damage and potential hazards.
– Mistake 3: Skipping the Safety Gear
Decorating your roof without the proper safety equipment can be dangerous. Always wear gloves and safety glasses, and use a sturdy ladder to prevent injuries.
– Mistake 4: Inaccurate Measurements
Guessing the length of your roofline can leave you with too many or too few lights, resulting in a sloppy look. Measure meticulously to ensure your lights fit perfectly and provide continuous coverage.
– Mistake 5: Damaging the Roof with Fasteners
Using staples or nails might seem like a quick fix, but they can cause significant damage to your roof. Opt for light clips or hooks that are designed for temporary installation and won’t harm your roofing materials.
– Mistake 6: Haphazard Light Hanging
Don’t hang your lights in a hurry. Take your time to hang lights securely and evenly for a professional-looking display.
– Mistake 7: Improper Power Source Connection
Plugging lights directly into a household outlet without an outdoor-rated extension cord is a risk not worth taking. Use cords that are safe for outdoor use and keep electrical connections off the ground to prevent water damage.
– Mistake 8: Neglecting the Post-Installation Check
Failing to inspect your lights after installation can leave dark spots or uneven lines in your display. Turn on the lights to check for any issues and make necessary adjustments for a flawless and festive look.
Installing with Care and Precision
Once you’ve laid the groundwork with your preparations, it’s time to attach the lights securely to your roof. Ascend the ladder with caution, ensuring it is firmly planted on the ground to avoid mishaps. Attach your light clips or hooks at even intervals along the roof’s edge, as these small fixtures play a significant role in creating a uniform and polished holiday display.
Weathering the Season Safely
The final step in ensuring a joyous and bright season is safely connecting your lights to the power source. Utilize outdoor-approved extension cords to bridge the gap between your lights and electricity, keeping safety at the forefront. For additional peace of mind and to protect your home against the elements, consider scheduling a roof inspection with Ecobuild Roofing, experts in storm damage restoration, to preemptively address any issues that could be exacerbated by your light installation.


