• Learn the signs of a roof rat infestation, including droppings and gnawing marks.
• Discover practical DIY steps to eliminate roof rats, from sealing entry points to setting traps.
• Understand the importance of ongoing maintenance and when to seek professional extermination services.
Recognizing the Telltale Signs of Roof Rats
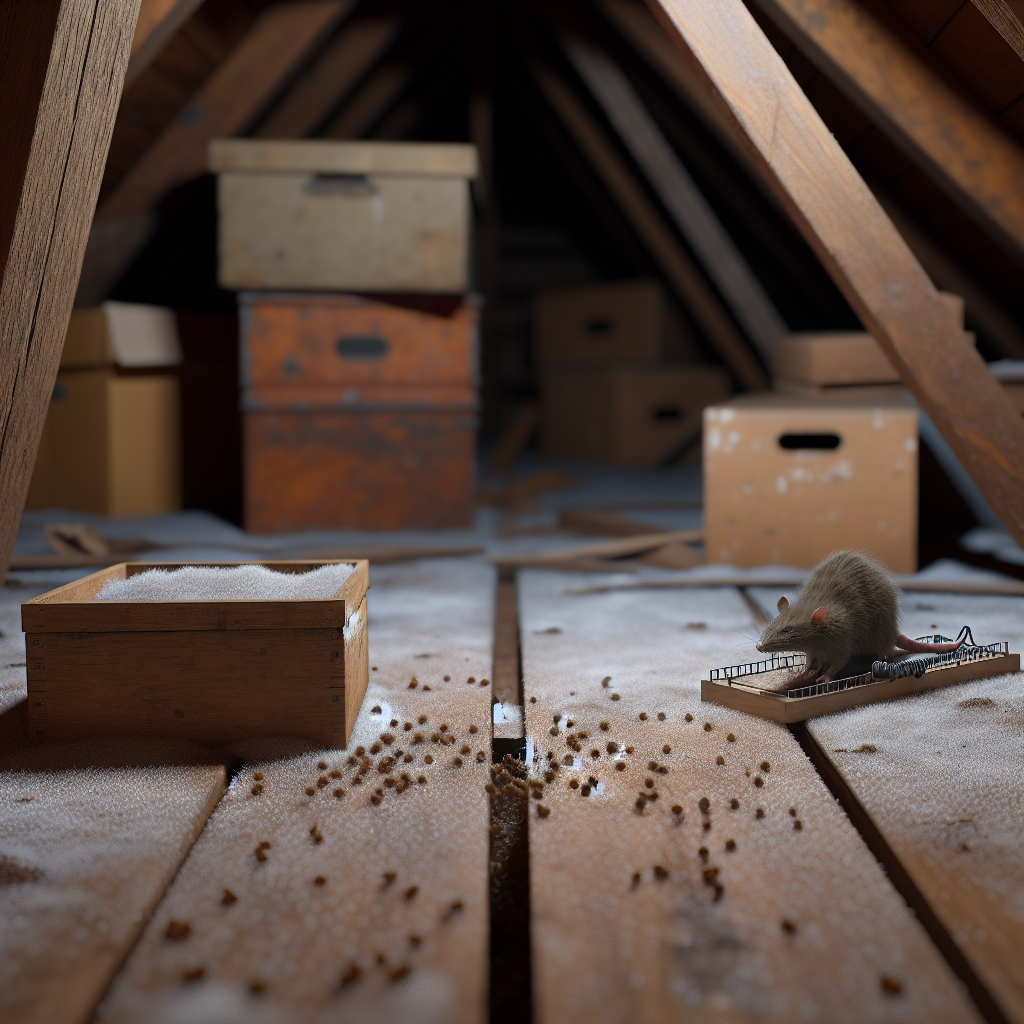
Discovering you share your home with roof rats is a disconcerting thought, but early detection is key to preventing a full-blown infestation. Look for dark, pellet-like droppings in your attic or along the walls, which are a clear giveaway that rodents are present. You might also notice gnaw marks on wooden beams or insulation, as roof rats constantly chew to keep their teeth sharp. Another unmistakable sign is the sound of scampering or scratching noises above you, especially at night when these critters are most active.
Inspection: The First Defensive Move Against Roof Rats
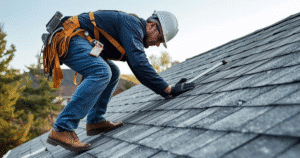
The initial step in reclaiming your peaceful abode involves a meticulous inspection of your home’s upper regions. Your roof and attic are the primary battlegrounds where roof rats establish their dominion. It’s crucial to check for holes, cracks, and gaps where the roof meets the eaves or where vents and chimneys penetrate the roofline. Remember, a rat can squeeze through a hole the size of a quarter, so even the smallest opening can be a welcome sign for these unwelcome guests.
Sealing the Deal: Keeping Roof Rats Out
After identifying the potential entry points, the next step is to seal them off with durable materials like wire mesh, metal flashing, or cement. By eliminating their access, you cut off the problem at its source, making your home less appealing to these agile climbers. Overhanging tree limbs and dense shrubs provide natural ladders for roof rats, so be proactive in trimming back any branches that come too close to your home. The goal is to create a barrier that discourages roof rats from considering your home as their next destination.
Securing the Perimeter: Eradication of Roof Rats
With the initial signs of roof rat activity identified, moving swiftly and methodically is crucial in stopping these pests in their tracks. Setting traps is a proven method to catch these nimble nuisances and is best done with strategic placement in the attic, along the walls, or wherever droppings were found. Baiting these traps with fruits, nuts, or peanut butter can improve their effectiveness, but always remember to handle them with care and check them regularly. By securing your home internally and externally, you can stop the infiltration and reclaim your peace of mind.
Maintenance and Vigilance: Long-Term Solutions
Eliminating an existing roof rat problem is a great start, but consistent effort is needed to ensure they don’t return. Regular inspections of your property can help spot early signs before they become serious concerns. Keep your environment unattractive to roof rats by maintaining cleanliness, especially in areas like garages and attics that are commonly neglected. For expert assistance and more detailed guidance in handling these pesky rodents, consider exploring Ecobuild Roofing’s range of services to help protect your home effectively.
Step 1: Identify Signs of Roof Rat Infestation
Begin by looking for droppings, gnaw marks, and noises coming from the attic, which are common indicators of roof rat activity. Pay special attention to your roof and attic since these rodents prefer high places.
Step 2: Perform a Thorough Inspection
Check your roof for any openings or gaps that rats could use to enter. Inspect the roof’s edge, eaves, vents, and chimneys.
Step 3: Seal Entry Points
Use metal flashing, wire mesh, or cement to seal any holes or gaps you find during the inspection. Roof rats can enter through very small spaces, so ensure all potential entry points are covered.
Step 4: Trim Trees and Vegetation
Trim back tree branches and vegetation that are close to your roof or house. This prevents roof rats from using them as bridges to enter your home.
Step 5: Remove Food and Water Sources
Keep your trash bins sealed and do not leave pet food outside. Fix any leaky pipes or drains to cut off water sources which roof rats need to survive.
Step 6: Set Traps and Baits
Set up traps or baits in areas where you’ve noticed signs of roof rats. Follow the instructions carefully and place them in safe areas away from children and pets.
Step 7: Monitor and Maintain
Regularly check the traps and bait stations, removing any captured rats and replenishing baits as needed. Continue to monitor for signs of activity and maintain a clean environment to discourage future infestations.
Step 8: Seek Professional Help if Needed
If the infestation persists or you are uncomfortable handling any part of the roof rat removal process, contact a licensed pest control professional for assistance. They can provide a comprehensive approach to safely and effectively remove roof rats from your home.
Common Pitfalls: What Not to Do in DIY Roof Rat Control
While the initiative to tackle a roof rat problem yourself is commendable, it’s easy to fall into traps of common DIY mistakes. These unintended missteps can prolong the issue or even exacerbate the infestation. Educating yourself on these typical errors can save you time, resources, and ensure you’re dealing with roof rats effectively.
- Mistake 1: Ignoring Early Warning Signs – It’s crucial to act as soon as you notice the first indicators of roof rats, like droppings or noises. Procrastination can lead to a larger, harder-to-manage infestation.
- Mistake 2: Inadequate Sealing of Entry Points – Simply covering holes with tape or a quick fix won’t suffice. Use durable materials like metal flashing or wire mesh to ensure rats can’t chew through.
- Mistake 3: Not Trimming Trees Regularly – Overgrown branches offer easy access to your roof for rats. Regular pruning keeps rats at bay by removing their aerial pathways to your home.
- Mistake 4: Overlooking Water Sources – It’s not just about securing food; roof rats need water, too. Address any leaky faucets or pipes immediately to avoid attracting these pests.
- Mistake 5: Incorrect Trap Placement – Traps should be placed where rat activity is confirmed. Wrong placement could lead to bait untouched and an unresolved rat issue.
- Mistake 6: Not Checking Traps Frequently – Regular checks are essential for the effectiveness of traps. Neglecting this can leave deceased rats to decay, leading to health risks and attracting more pests.
- Mistake 7: Underestimating the Problem – Assuming a couple of rats isn’t a big deal can lead to a hidden infestation. If you’re overwhelmed, it’s time to contact a professional pest control service for help.
Long-term Prevention Is Key to Rat-Free Living
One encounter with roof rats is enough to appreciate the value of preventive measures. Ensuring that your home remains secure and uninviting to these invaders requires vigilance and a commitment to regular upkeep. To maintain a rat-free roof, consider professional roof inspections as part of your home maintenance routine to catch vulnerabilities early.
Professional Help: Your Ally Against Roof Rat Infestations
If you find the challenge of tackling roof rats overwhelming, remember that you’re not alone. Professional services offer comprehensive solutions that ensure both the removal and the prevention of future infestations. An expert team can provide peace of mind and a definitive answer to your pest problems, keeping your home safe and sanitary for your family.


