• Learn to secure permits and comply with local codes
• Design a patio roof that complements your house’s style
• Avoid common DIY mistakes for a successful installation
Recognizing the Need for a Patio Roof
As you envision a serene afternoon lounging on your patio, the glaring sun or an unexpected drizzle can often disrupt this idyllic setting. Recognizing early warning signs that your patio could benefit from the shelter of a roof is key to enhancing your outdoor living space. Fading furniture, weathered deck materials, or frequent maintenance are all indicators that your patio is exposed to harsh elements. By identifying these problems, you’re taking the first step towards creating a more comfortable and protected outdoor area.
When to Consider Attaching a Patio Roof
The benefits of a patio roof extend beyond just improving your immediate comfort; they also contribute to the longevity of your outdoor space. Cracked wood or sun-bleached textiles signal that your patio is taking a beating from nature’s elements. If you find yourself postponing gatherings due to weather conditions, or if you’re inclined to avoid your outdoor space during certain times of the day, it might be time to consider the enhancement a roof would provide. Furthermore, water damage near your patio’s foundation could spell trouble, suggesting that a roof could help divert water effectively.
Preparing for Your Patio Roof Attachment Project
Before embarking on the transformative journey of attaching a roof to your outdoor space, certain preliminary checks must be in order. Assessing your existing structure for any signs of damage, instability, or decay is crucial; these issues must be addressed to support your new addition safely. Paying mind to burgeoning rust on metal fixtures or rot on wooden elements is wise to ensure a solid foundation for the project. Equally important is contemplating how the proposed structure will integrate with your current layout, necessitating a thoughtful approach to the design and planning phases that follow.
Planning Your Patio Roof Attachment
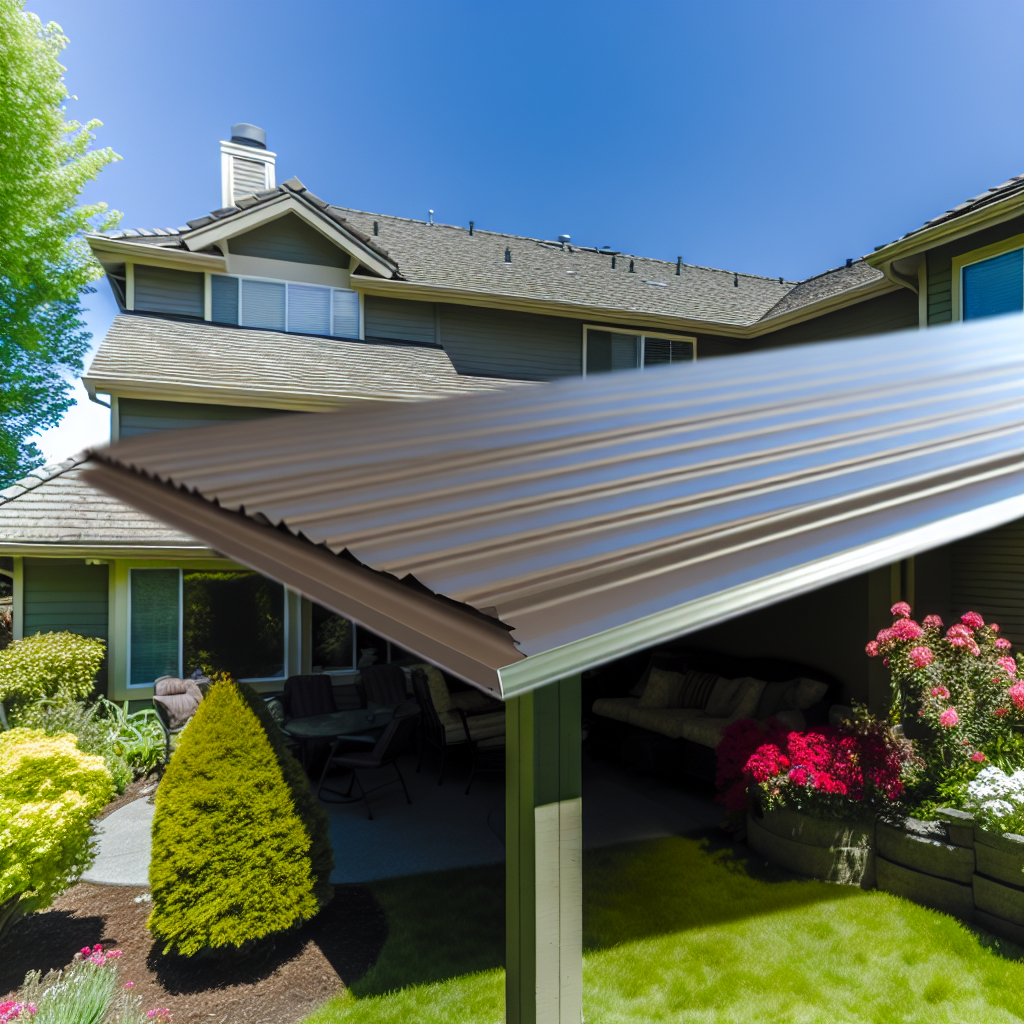
A well-thought-out design is crucial to ensure that your patio roof is not only functional but also aesthetically pleasing. Envision how the new structure will blend with your home—it should look like a natural extension, rather than an afterthought. Consider factors like the pitch of the roof and the type of materials that will best match your existing architecture. This phase is all about form meeting function, balancing the practicality of protection from the elements with a design that enhances your home’s curb appeal.
Selecting Materials for Your Patio Roof
The selection of materials for your patio roof should take into account both durability and style. Rugged materials that withstand the rigors of weather, such as corrosion-resistant metals or treated woods, are ideal choices for longevity. In addition, you’ll want to choose a color scheme and finish that complement the exterior of your house, ensuring a cohesive look. Visit Ecobuild Roofing’s residential services for professional guidance and a selection of quality materials tailored to suit your individual needs.
Gearing Up for Construction
Before construction begins, gathering your materials and tools is a step that should be handled with attention to detail. Ensure all your tools are in good working order—there’s nothing more frustrating than a project stalled by a tool failure mid-way. It’s time to get organized; lay out your materials, group your tools, and check everything against your design plans to confirm that nothing has been overlooked. Remember, careful preparation now makes for a smoother build process and helps avoid any unnecessary hiccups in bringing your patio upgrade to life.
Step 1: Understand Local Building Codes and Permits
Before beginning any construction, check with your local building department to find out what permits you need and to ensure that your project complies with local codes and regulations.
Step 2: Design Your Patio Roof
Consider the style of your existing house and decide on the design, size, and materials for your patio roof that will complement the architecture of your home.
Step 3: Gather Materials and Tools
Acquire all necessary materials such as posts, beams, rafters, roofing material, and fasteners. Ensure you have the right tools like a hammer, drill, saw, level, and ladder.
Step 4: Install Support Posts
Install vertical support posts in concrete footings at the corners of your patio area. Make sure they are level and securely braced.
Step 5: Attach the Ledger Board
Secure a ledger board horizontally to the existing house structure, ensuring it is properly flashed and sealed against water intrusion.
Step 6: Install Roof Beams and Rafters
Position roof beams on top of the support posts and attach rafters from the ledger board to the beams, maintaining an adequate slope for water runoff.
Step 7: Apply Roofing Material
Choose a roofing material that matches your house, and apply it to the rafters, starting from the bottom and working your way up to ensure proper overlap and sealing.
Step 8: Finish with Gutters and Downspouts
Install gutters and downspouts to manage water runoff, directing it away from your home to prevent foundation damage and landscape erosion.
Common Mistakes to Avoid When Attaching a Patio Roof
Embarking on a DIY project to attach a patio roof to your existing house can be both rewarding and challenging. However, even the most enthusiastic homeowners can fall prey to common mistakes that can turn a dream project into a problematic situation. Understanding these pitfalls and how to avoid them is crucial to ensure the success and longevity of your patio roof.
– Mistake 1: Ignoring Local Building Codes
Many DIYers start their projects without checking the local building codes, which can lead to legal issues and the need to redo work. To avoid this, always consult with your local building department to understand the permits required and regulations to follow.
– Mistake 2: Inadequate Planning and Design
Choosing a patio roof design that does not complement your house’s existing structure can result in an aesthetically displeasing outcome. Proper planning involves considering the style, size, and materials that will harmonize with your home’s architecture.
– Mistake 3: Using Incorrect or Substandard Materials
Using materials that are not up to code or suitable for outdoor use may result in a roof that is unsafe or that deteriorates rapidly. Always choose quality materials that are durable, weather-resistant, and approved for use in patio constructions.
– Mistake 4: Poor Installation of Support Posts
Installing support posts without proper bracing or incorrect spacing can lead to a structurally unsound roof. Ensure that posts are securely anchored in concrete footings and appropriately spaced according to the roof size and weight.
– Mistake 5: Failing to Properly Attach the Ledger Board
Improper attachment of the ledger board can cause significant water damage to your house. Make sure the ledger board is properly flashed and sealed to prevent moisture from seeping in.
– Mistake 6: Incorrect Slope for Water Runoff
A patio roof with inadequate slope will not properly direct water away, potentially causing leakage and water damage. When installing roof beams and rafters, ensure there is a slope that facilitates water runoff and reduces pooling on the roof.
– Mistake 7: Incorrect Roofing Material Application
Skipping steps or rushing the application of roofing materials can lead to leaks and reduced roof life. Be meticulous in laying down the roofing, starting from the bottom up, and overlapping each layer to ensure a watertight seal.
– Mistake 8: Neglecting Gutters and Downspouts
Failing to install a proper gutter system can result in water damage to your property. Incorporate gutters and downspouts in your design to channel water away from the foundation of your home, preventing potential issues with erosion and dampness.
Executing the Construction Plan
With materials and tools at the ready, the actual construction of your patio roof begins. This phase requires precision and adherence to the design specifications laid out in the planning stage. By following the detailed blueprint, you ensure structural integrity and aesthetic congruence with your existing house, paving the way for a seamless addition to your home.
Professional Assistance for Complex Steps
Should you encounter complexities such as attaching the ledger board or aligning the roof beams, seeking professional help is a wise decision. Roof construction can be intricate, and the stability of the entire structure hinges on these key steps being executed correctly. For expert assistance, consider exploring Ecobuild Roofing’s comprehensive services, which offer the expertise necessary to ensure a safe and successful project completion.


